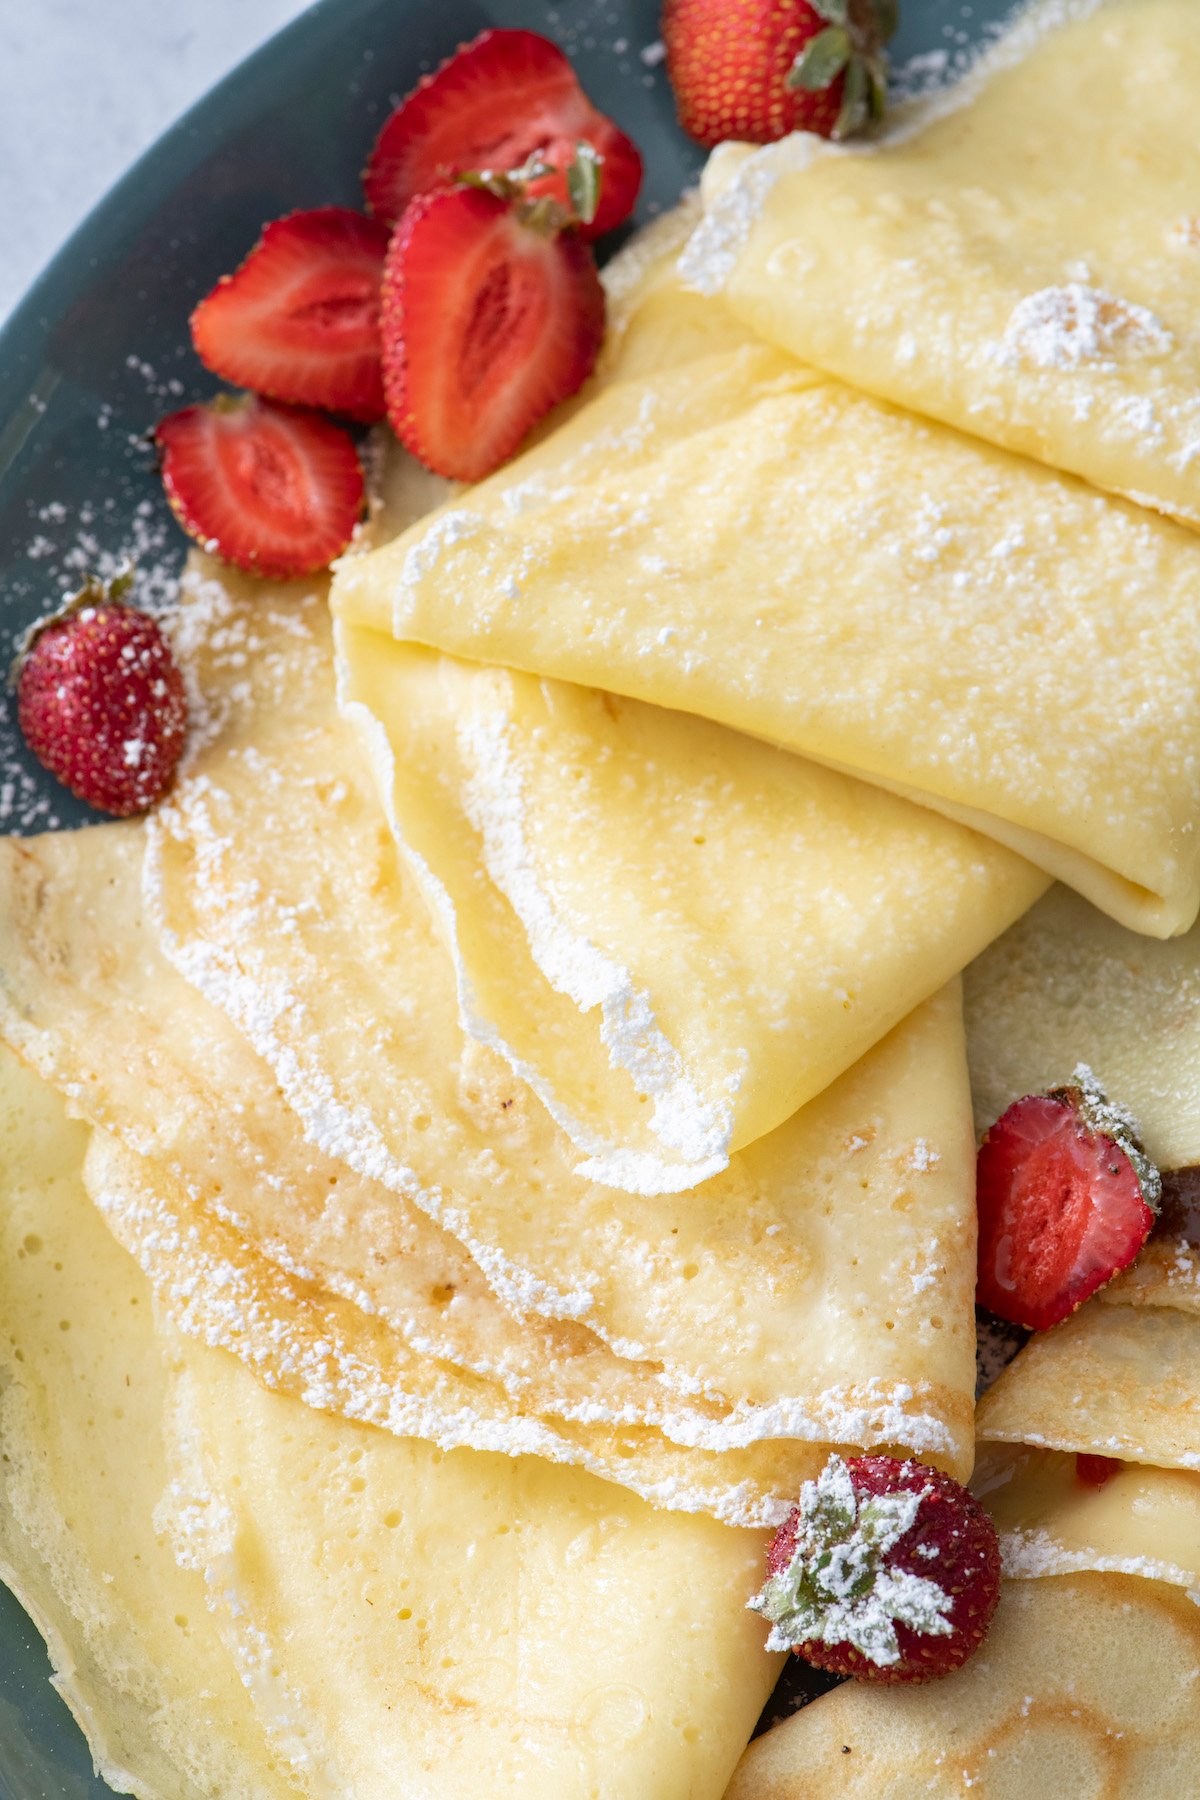
There’s a misconception about Crepes that I’m hoping to correct here. Are you ready? In spite of what you may think or been told, crepes are incredibly simple to make. Ok, I said it. And if you’ve never tried your hand at making these French-style pancakes before, my oh my are you in for a treat. They’re one of my favorites! These heavenly, light, thin pancakes are the perfect base for all types of fillings like mashed bananas, almond butter, fruit preserves and, dare I suggest, Nutella!
Why You’ll Love This Recipe
- Fun Culinary Adventure: Making crepes is a fun way to do something new in the kitchen with ingredients you most likely already have on hand. You get to play with different flavors and fillings which is so much fun, especially for kids.
- Easy to Make: Making crepes can seem daunting, but I promise it’s easier than you may think. You can make a batch of these without any special equipment or hard to find ingredients.
- Versatile and Kid-Friendly: The best part about this recipe is that you can fill them with anything you love! They’re perfect for satisfying many different taste preferences. If your little one wants Nutella and the adults want fresh fruit, everyone can be happy!
The Ingredients
- Flour: Can’t have crepes without flour! It provides the overall structure for this recipe.
- Large eggs: Eggs help bind everything together!
- Milk: This ingredient helps create the perfect texture.
- Water: Crepes need to be liquid-y, so adding water helps thin out the batter.
- Vanilla: This adds flavor and fills the kitchen with an amazing smell! If you want to make savory crepes, you can leave this ingredient out.
- Butter: Melted butter is a key ingredient for making crepes. Make sure you have more on hand for greasing the skillet!
*See the recipe box below for full ingredients and measurements
How to Make Homemade Crepes
- Combine Ingredients in Blender: Place all the ingredients in a blender and puree.
- Refrigerate: Refrigerate the batter for 1 hour or overnight (this helps the bubbles to settle and the crepes not to tear).
- Butter and Heat Small Skillet: Grease a small sauté pan or crepe pan with butter. Pour in 2 tablespoons of batter and swirl to cover the pan.
- Cook: Cook crepe for 1 minute, flip and continue to cook another 30 seconds or until just starting to become golden.
- Make Crepes One At a Time: Remove to a plate and continue to make remaining crepes.
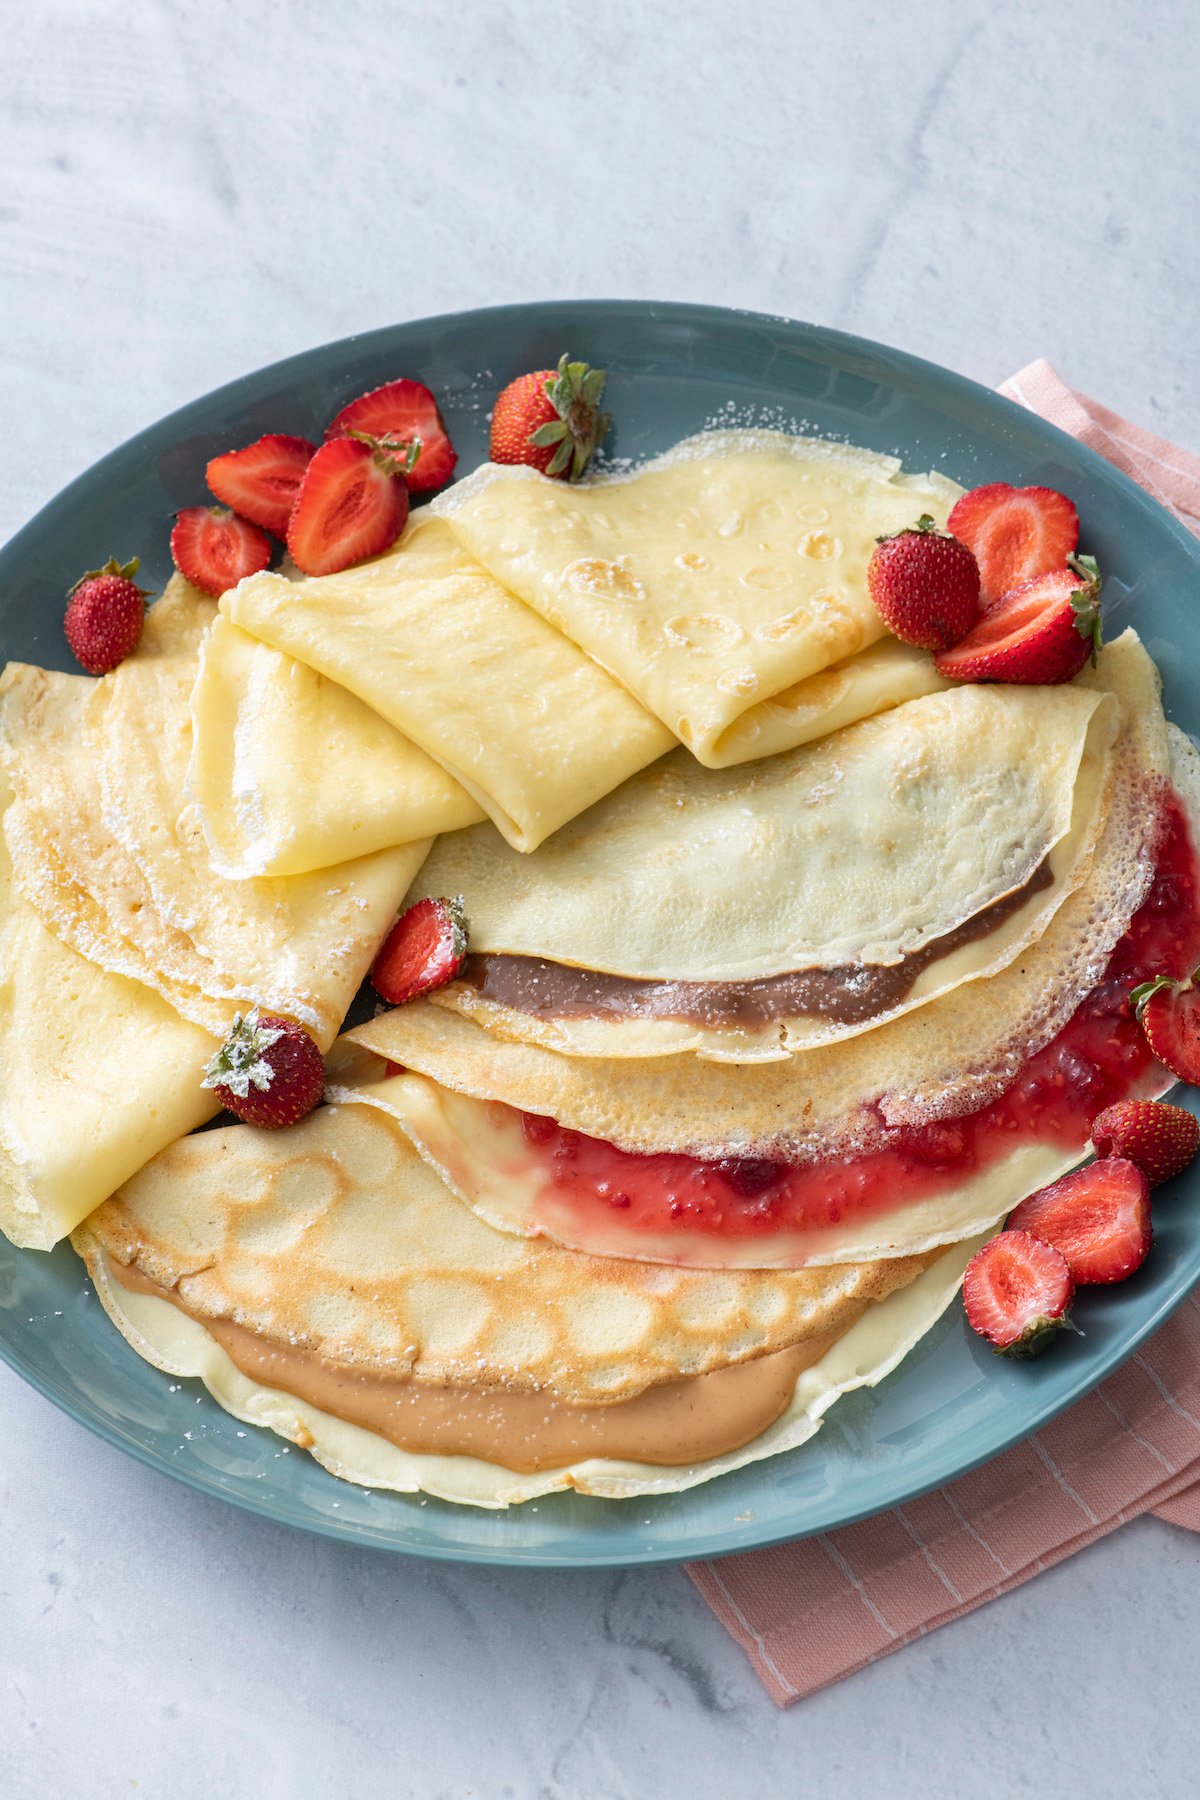
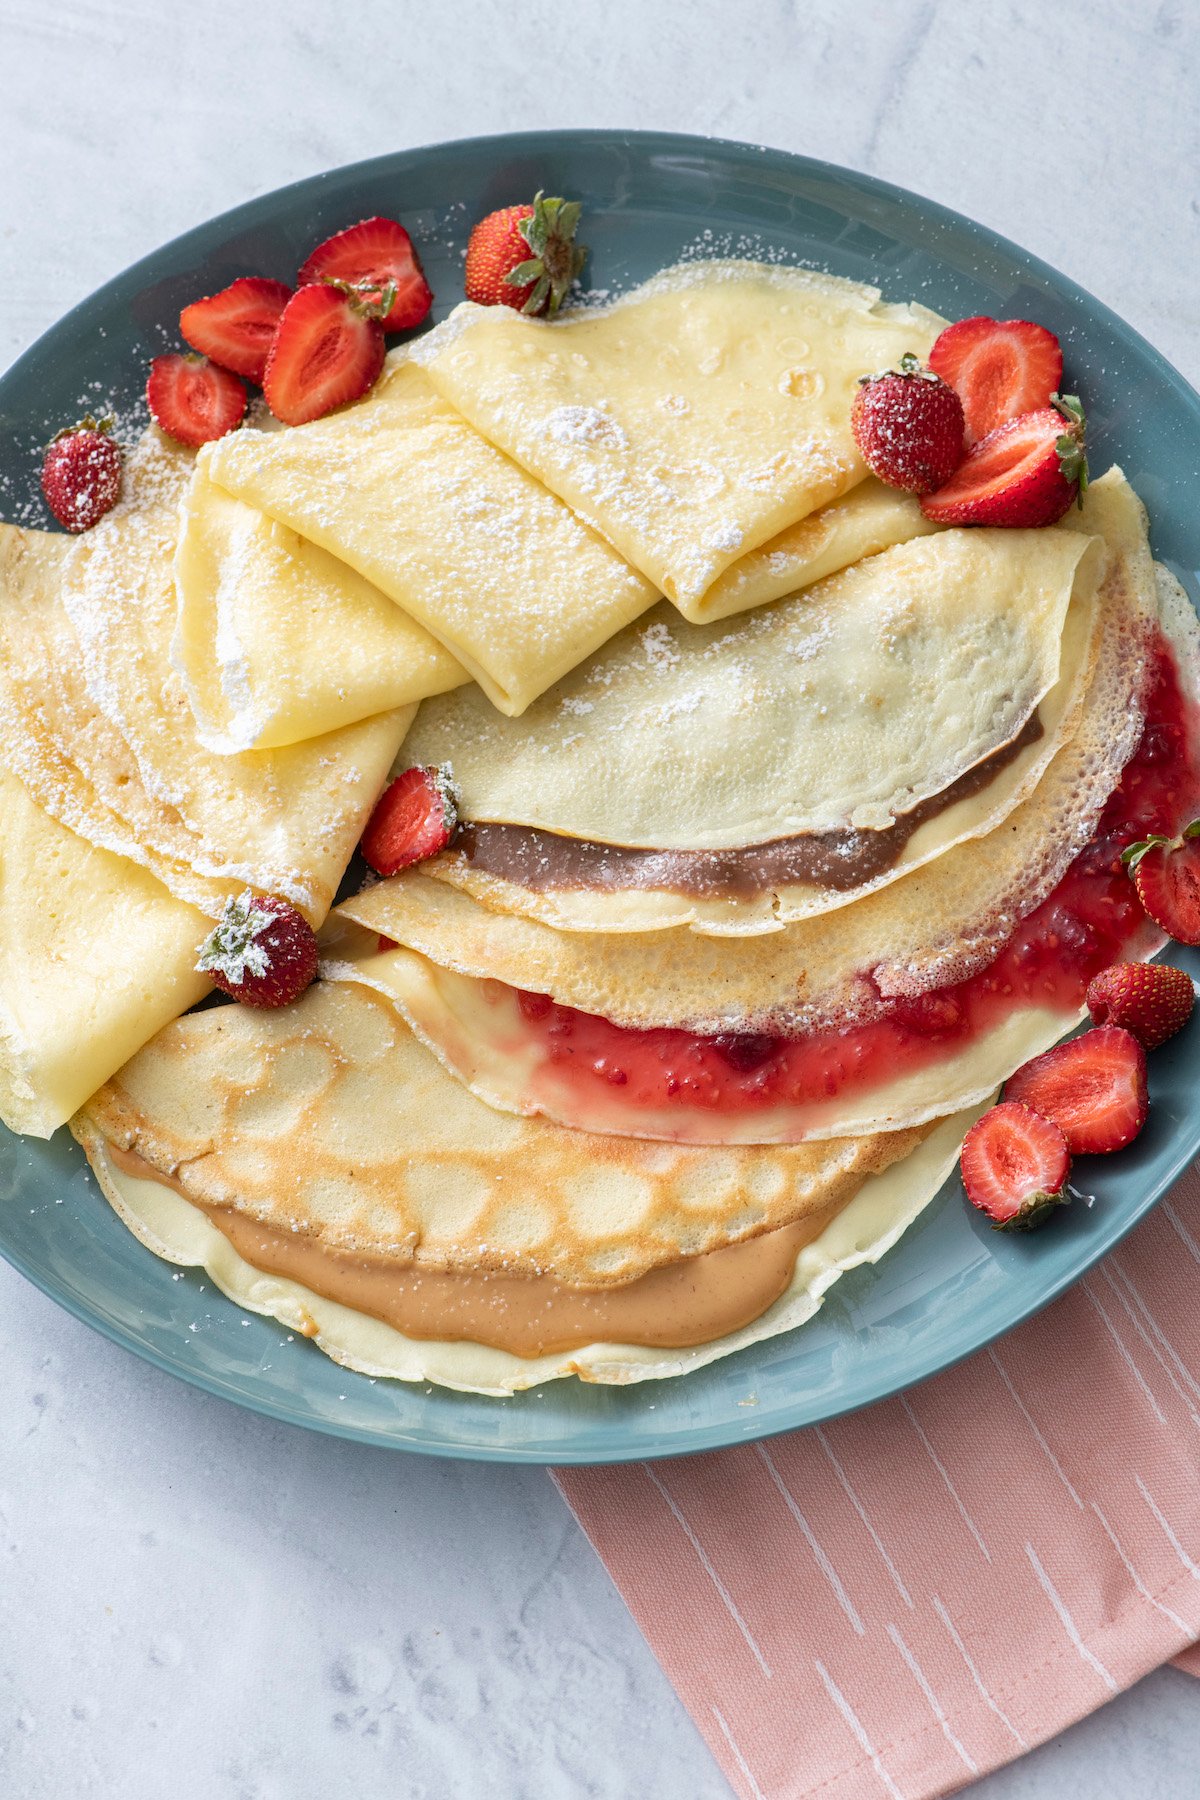
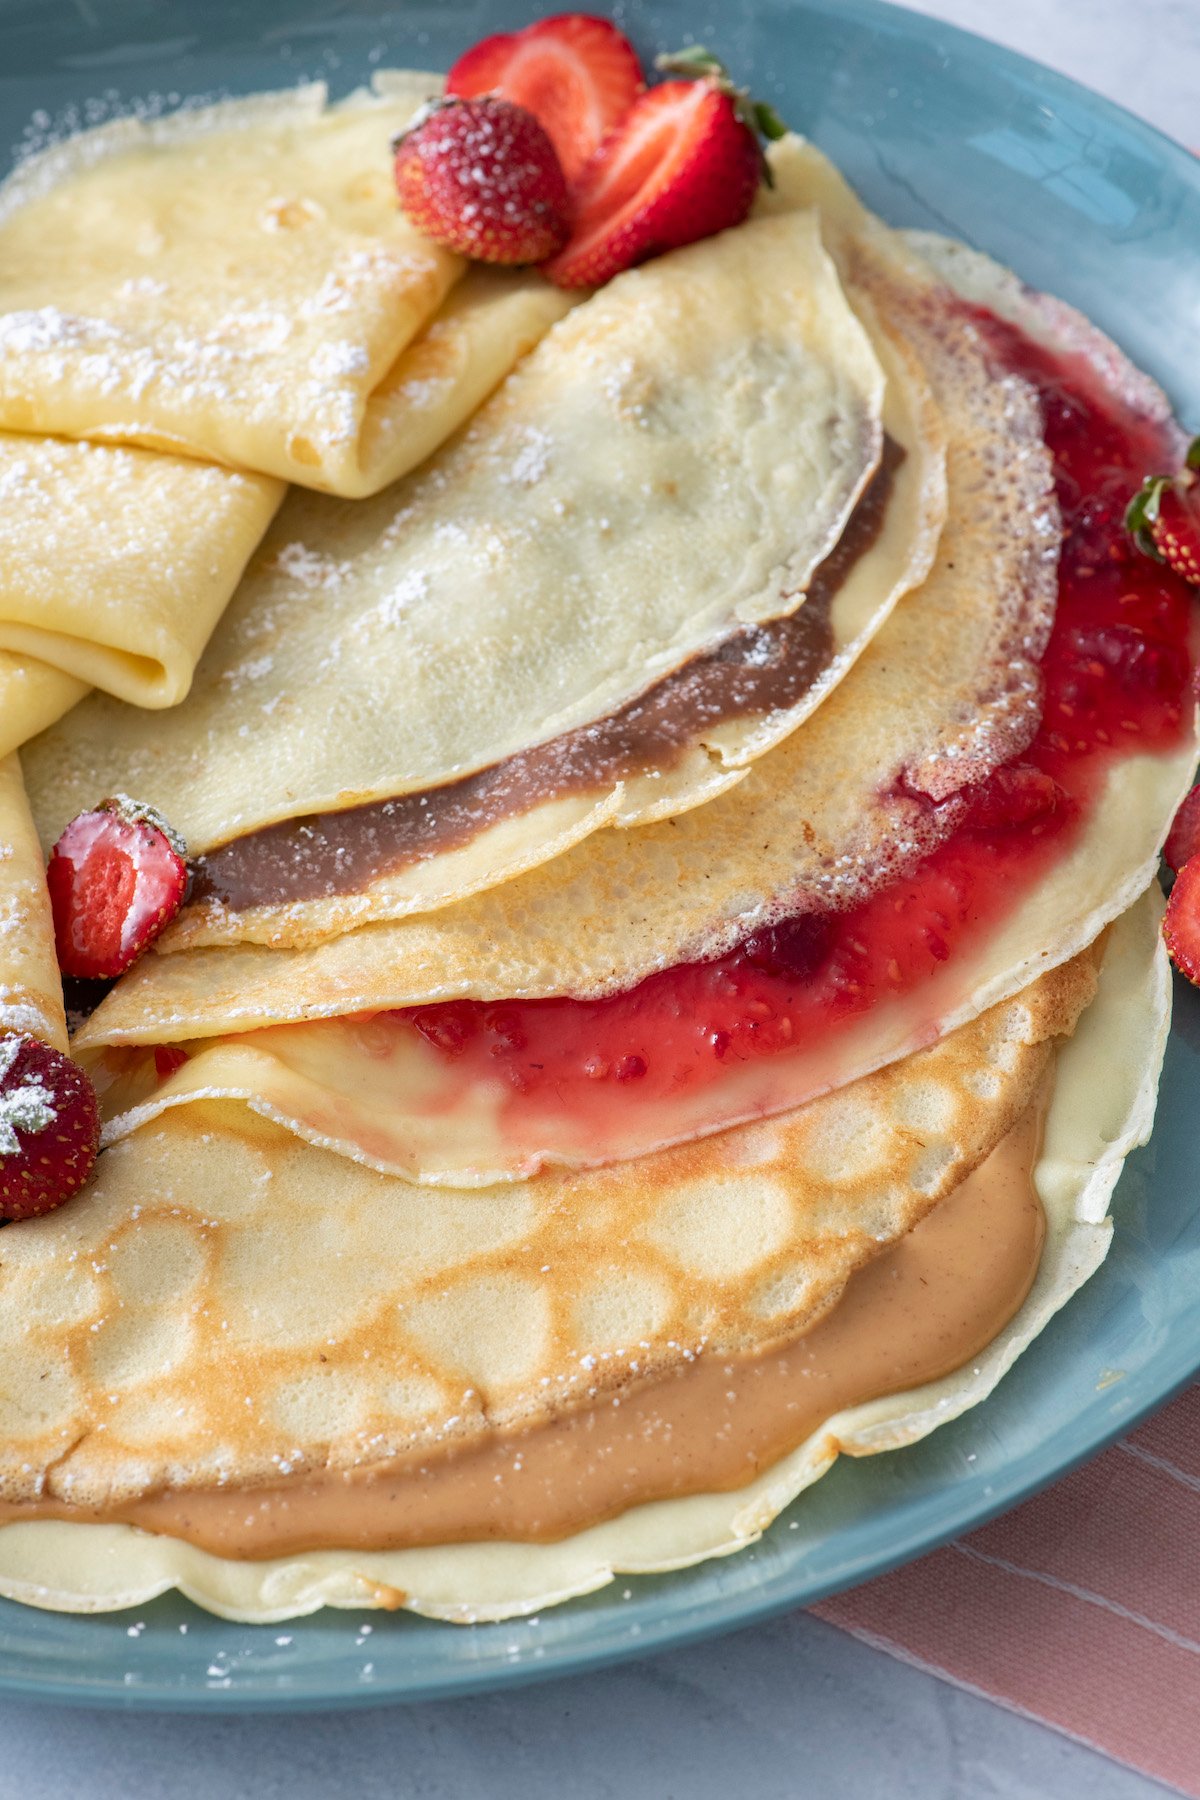
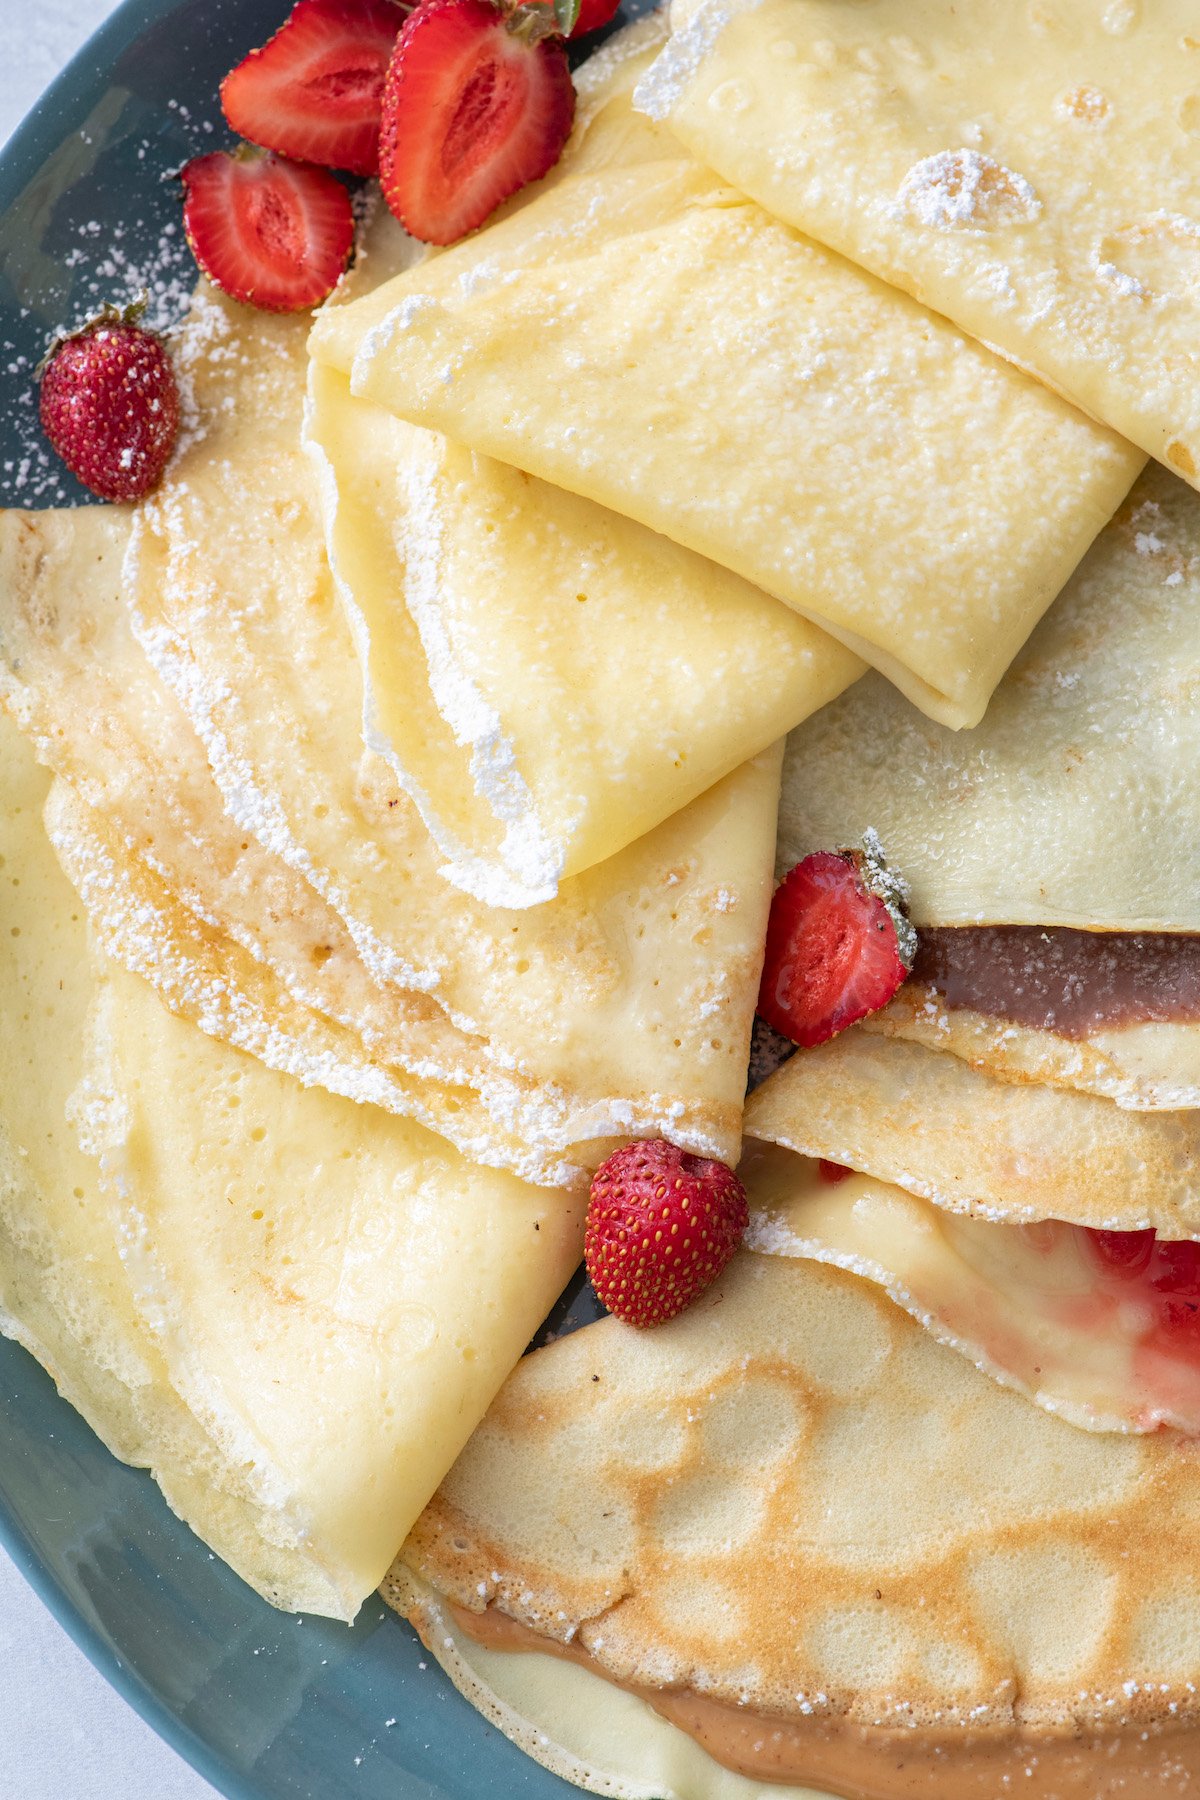
- Serve with Desired Fillings: Spread crepes with apple butter, almond butter, mashed bananas, fruit preserves or any other favorite filling. Fold in half or roll into a cigar shape.
Can You Make Crepes Ahead of Time?
You sure can! Here’s how to make crepes ahead of time! Whip up your batter up to a day ahead. Seal it tightly in your blender or pour it into a mixing bowl, cover it, and pop it in the fridge. Then, when you’re ready to make the crepes, just pull it out and start cooking them the next day.
While crepes are undeniably best fresh off the griddle, you can stash any extras in the fridge for a day or two. Simply reheat them in the microwave for a quick fix. Alternatively, arrange them on a baking sheet (yes, they can overlap!), cover them with foil, and warm them gently in an oven at 250°F for about 10 minutes.
To freeze crepes: After step 5, allow to cool, place crepes on a sheet tray, layer a piece of parchment paper between each crepe. Place in zipper bag, label and freeze up to 4 months. When ready, defrost in fridge for 24 hours and heat in a dry pan for 30 seconds on each side and follow remaining steps.
Filling & Topping Ideas
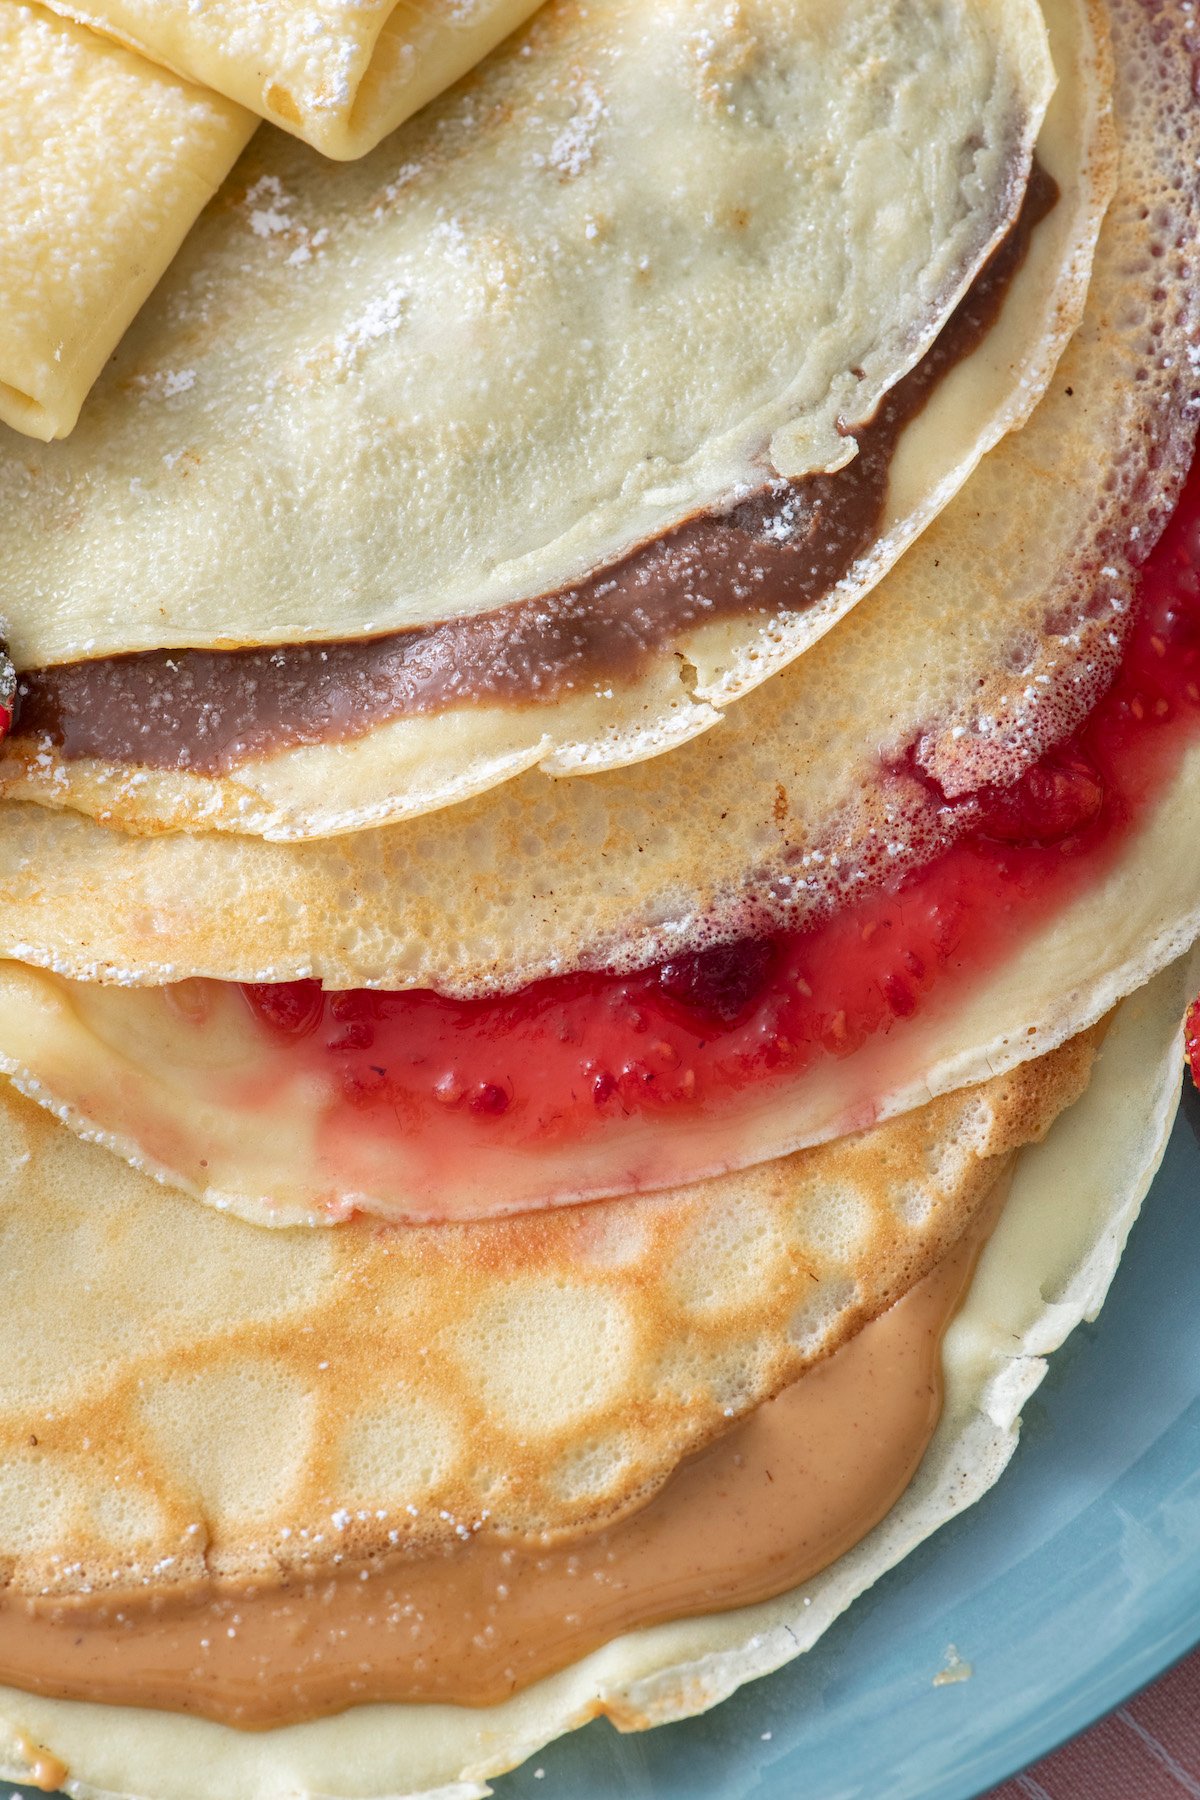
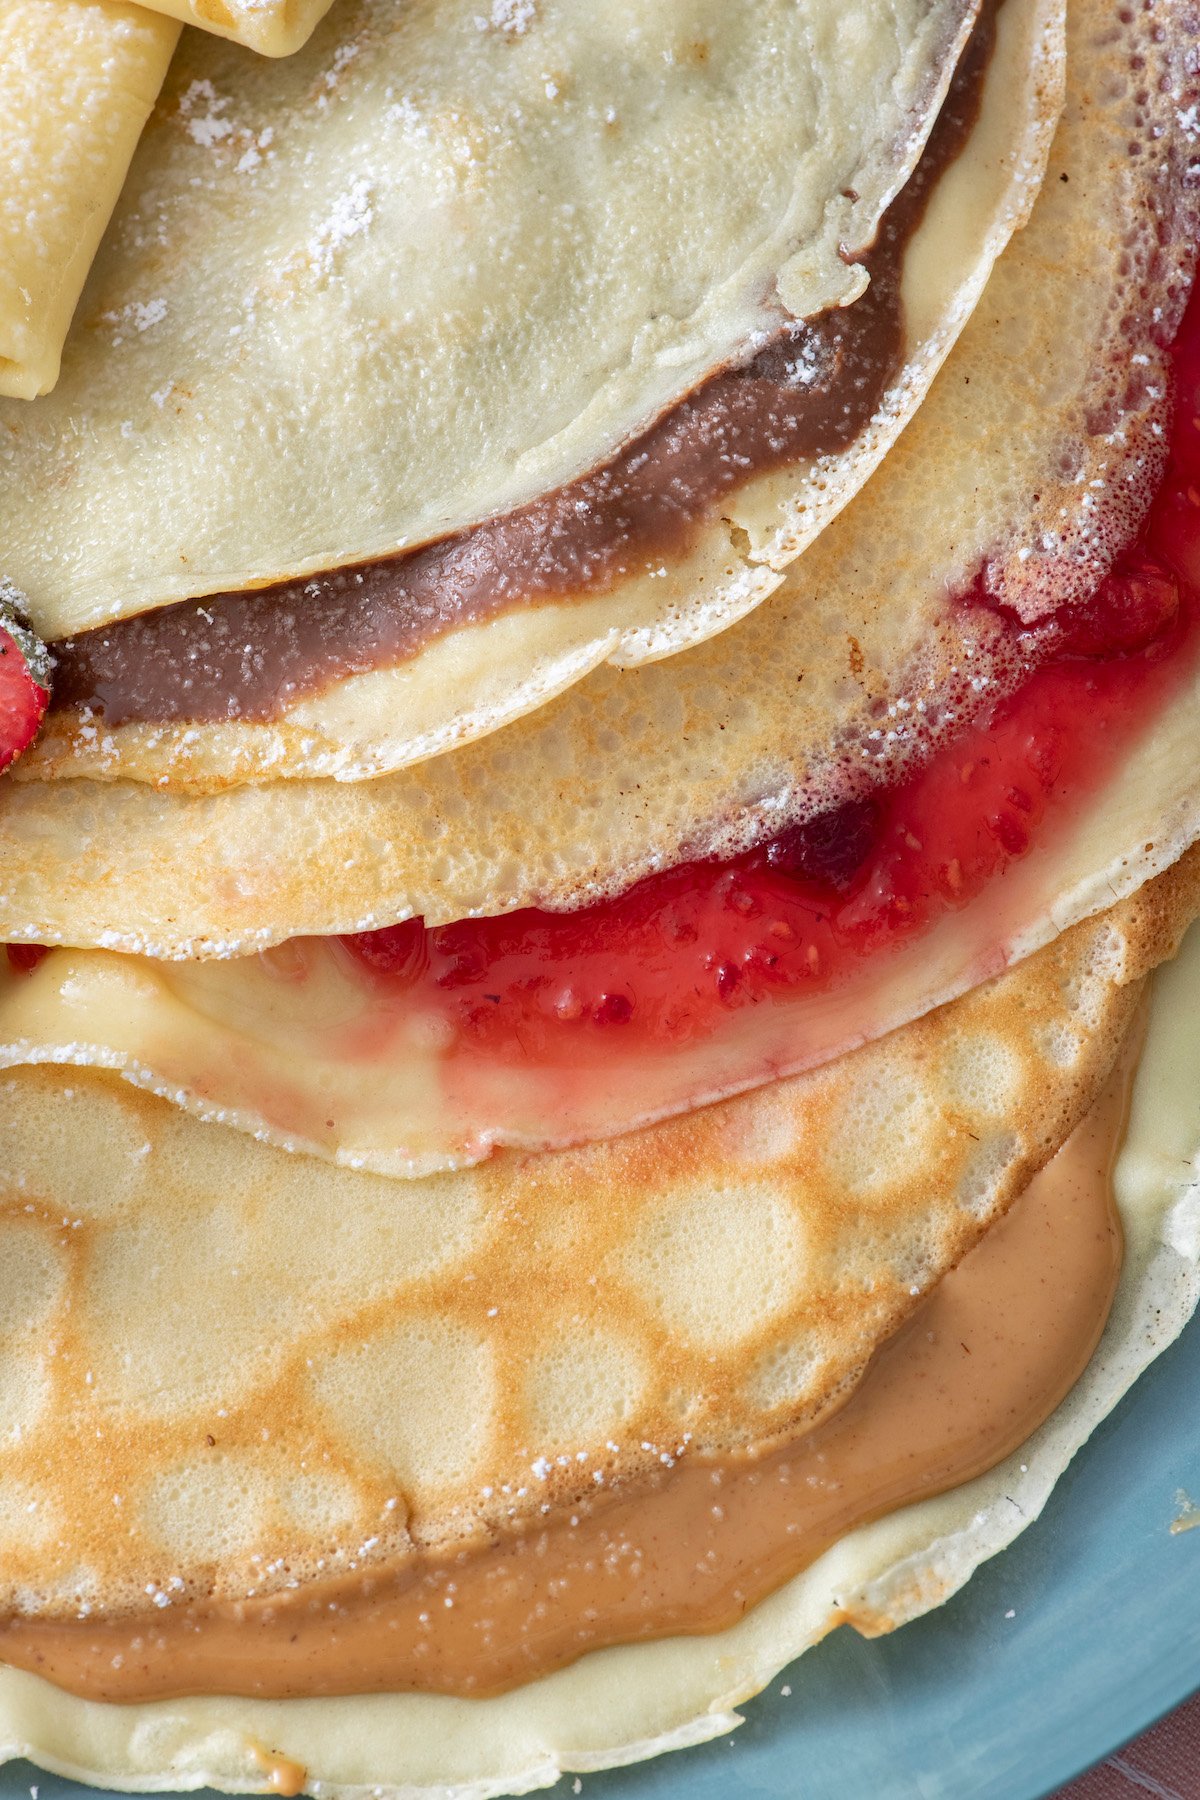
I’m a big fan of letting your taste buds guide you into what to put into your crepes. Strawberries with Nutella has always been a go-to for me. But any combination of the fillings and toppings below will be great!
- Nutella or homemade Chocolate Sunbutter
- Strawberries, raspberries or mashed bananas
- Strawberry Preserves or any favorite jam/preserve flavor.
- Melted peanut butter or almond butter
- Chocolate chips
- Powdered sugar
Tips for Perfect Crepes
- Refrigerate the Batter: This step is crucial and will make a huge difference in the texture and consistency of your crepes. Letting the batter chill in the refrigerator for an hour (or even overnight) helps the crepe batter becomes smoother and more cohesive, resulting in crepes with a tender, delicate texture. Plus, chilling the batter gets rid of the air bubbles, ensuring a smoother surface and more even cooking.
- Twirl the Pan: Pour the batter right into the center of your hot, buttery pan. Then, give it a lift and a twirl. You want the batter to spread out nice and thin. The thinner the crepe, the better the texture.
- Butter The Pan Between Each Crepe: While it may seem like a small detail, buttering the pan between each crepe is key to achieving that golden-brown exterior and preventing sticking. Additionally, the butter adds flavor and helps create a beautifully crisp exterior on the crepes, enhancing their overall texture and taste.
I love making homemade crepes for a fun, special weekend brunch. This kid-friendly recipe will have the whole family excited for waking up for breakfast. Let me know in the comments what fillings you add in your crepes and tag me on social media if you make these!

Crepes
Equipment
- blender
- small sauté pan or crepe maker (linked in notes)
Ingredients
- 2 large eggs
- 1 cup flour
- 3/4 cup milk
- 1/2 cup water
- 1/2 teaspoon vanilla
- 2 tablespoons butter, melted
- additional butter for sauteing
Instructions
- Place all the ingredients in a blender and puree.
- Refrigerate for 1 hour or overnight (this helps the bubbles to settle and the crepes not to tear).
- Grease a sauté pan or crepe pan with butter. Pour in 2 tablespoons of batter and lift and swirl to cover the pan.
- Cook for 1 minute, flip and continue to cook another 30 seconds or until just starting to become golden.
- Remove to a plate and continue to make remaining crepes. Add butter to the pan between each crepe.
- Spread with apple butter, almond butter, mashed bananas, fruit preserves or any other favorite filling. Fold in half or roll into a cigar shape.
- Serve.
Video
Notes
- Refrigerate the Batter: This step is crucial and will make a huge difference in the texture and consistency of your crepes. Letting the batter chill in the refrigerator for an hour (or even overnight) helps the crepe batter becomes smoother and more cohesive, resulting in crepes with a tender, delicate texture. Plus, chilling the batter gets rid of the air bubbles, ensuring a smoother surface and more even cooking.
- Twirl the Pan: Pour the batter right into the center of your hot, buttery pan. Then, give it a lift and a twirl. You want the batter to spread out nice and thin. The thinner the crepe, the better the texture.
- Butter The Pan Between Each Crepe: While it may seem like a small detail, buttering the pan between each crepe is key to achieving that golden-brown exterior and preventing sticking. Additionally, the butter adds flavor and helps create a beautifully crisp exterior on the crepes, enhancing their overall texture and taste.
- To Make Ahead: Whip up your batter up to a day ahead. Seal it tightly in your blender or pour it into a mixing bowl, cover it, and pop it in the fridge. Then, when you’re ready to make the crepes, just pull it out and start cooking them the next day.
- To Store: While crepes are undeniably best fresh off the griddle, you can stash any extras in the fridge for a day or two. Simply reheat them in the microwave for a quick fix. Alternatively, arrange them on a baking sheet (yes, they can overlap!), cover them with foil, and warm them gently in an oven at 250°F for about 10 minutes.
- To Freeze: After step 5, allow to cool, place crepes on a sheet tray, layer a piece of parchment paper between each crepe. Place in zipper bag, label and freeze up to 4 months. When ready, defrost in fridge for 24 hours and heat in a dry pan for 30 seconds on each side and follow remaining steps.
- Tools For this Recipe (affiliate links): Blender | Sauté Pan or Crepe Maker


Can I use almond or oat milk instead?